AWS - Create S3 Bucket and Upload/Download a File
In the last blog post I showed you how to terminate an EC2 instance:
In this blog I will be showing you how to create an S3 bucket and then how to upload a file to it and download it.
This concludes the tutorial. You can now open the test file you downloaded from your S3 bucket. Join me in the next blog post where we will continue to explore AWS.
 |
| Click Services then click S3 |
 |
| Click Create Bucket |
 |
| Give your bucket a unique name and choose the region it will be hosted in. You want to choose a region closest to where the users geographically are located |
 |
| Leave the default Block All Public Access check box checked and click Advanced Settings to review |
 |
| Choose if you want to enable or disable object lock then click Create Bucket |
 |
| You will see a message that your bucket has been created, click your bucket name to open it |
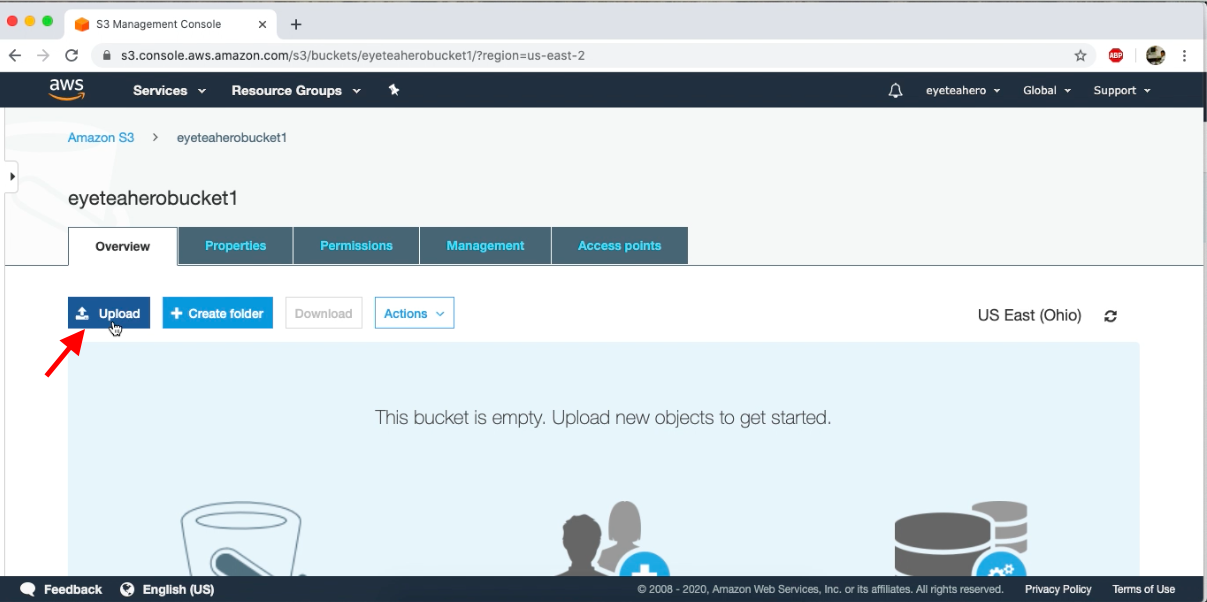 |
| Click Upload |
 |
| Click Add Files |
 |
| Choose a file to upload, I chose a test text file, then click Open |
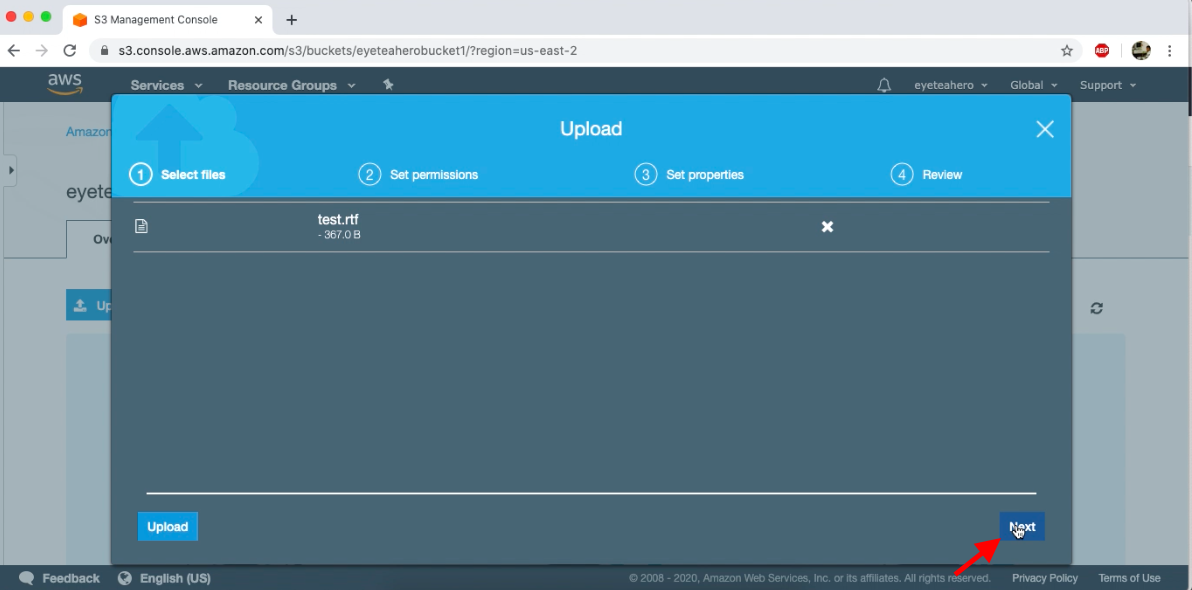 |
| Click Next |
 |
| Review the permissions and click Next |
 |
| Choose your bucket type, I recommend Standard for this tutorial then click Next |
 |
| Click Upload |
 |
| Click the file you uploaded earlier |
 |
| Click Download |
This concludes the tutorial. You can now open the test file you downloaded from your S3 bucket. Join me in the next blog post where we will continue to explore AWS.
Join me in the next blog post where we will be creating a new EBS volume:

