Install VirtualBox Guest Additions in Windows Server 2019 Virtual Machine
In the previous post we installed the evaluation version of Windows Server 2019
https://eyeteahero.blogspot.com/2019/04/installing-windows-server-2019.html
In this post we are going to install the VirtualBox Guest Additions in the Windows Server 2019 VM.
The VirtualBox Guest Additions provide improved support for mouse and keyboard integration, drivers, shared clipboard, video support, shared folders, time synchronization and a myriad of other improvements. They are installed after your guest OS is installed. In this post you will learn how to install them.
Power on your Windows Server 2019 Virtual Machine and click Devices> Insert Guest Additions CD Image...
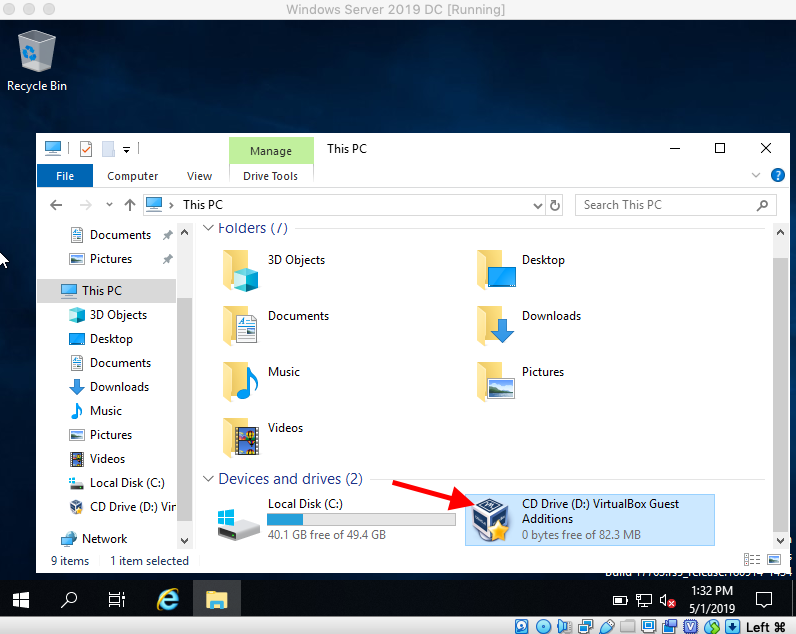
Click the File Explorer shortcut in the taskbar and then double click the VirtualBox Guest Additions Icon that should now show as a drive letter in Windows.
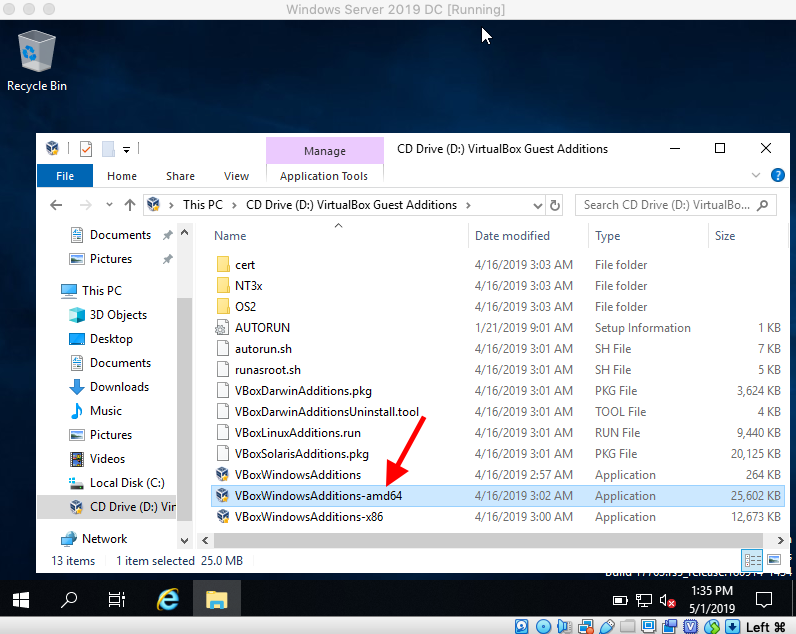
Once inside the folder double click the VBoxWindowsAdditions-amd64 icon
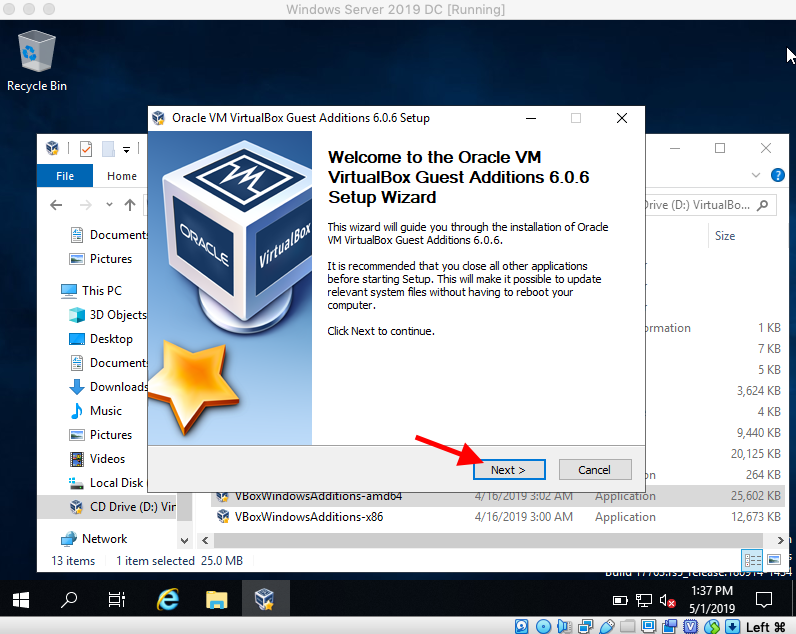
Click Next
Confirm the selection and click Next

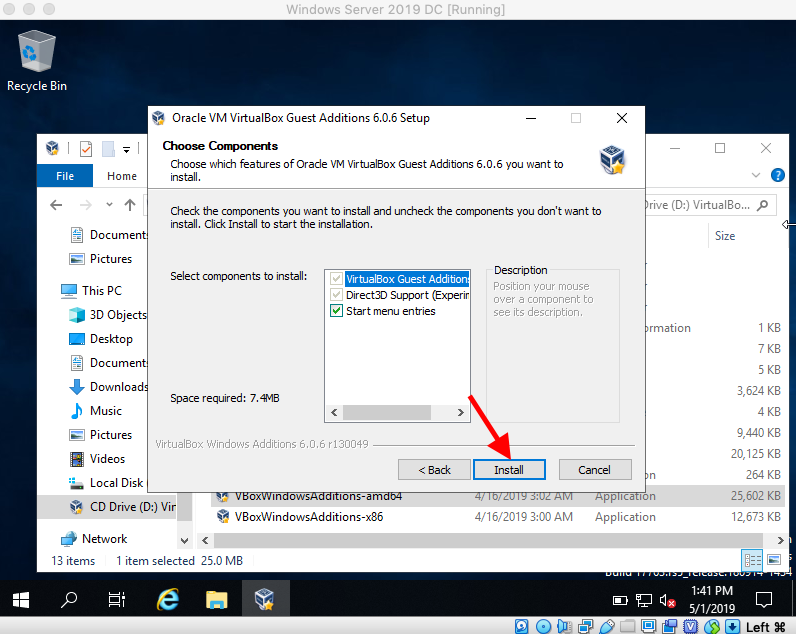
You can uncheck Add Start menu entires if you like and click Install
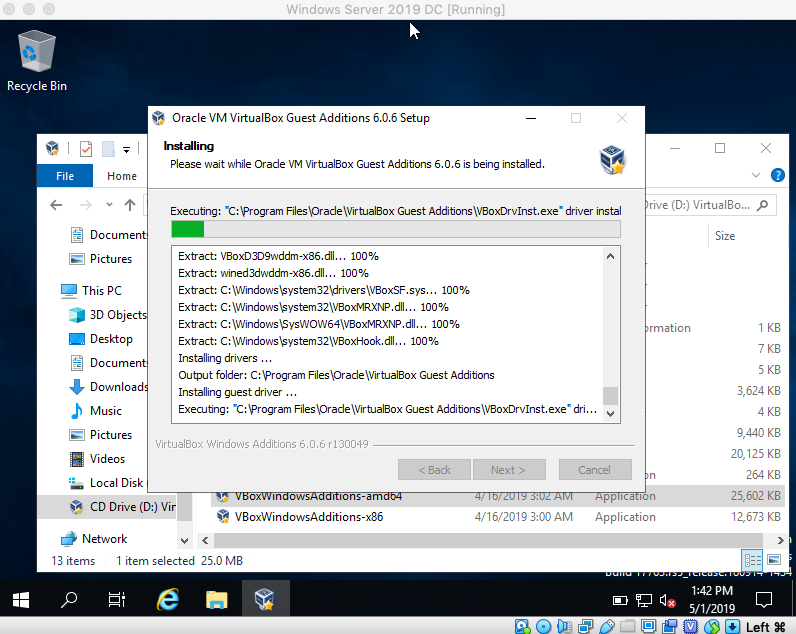
Wait for the installation to complete
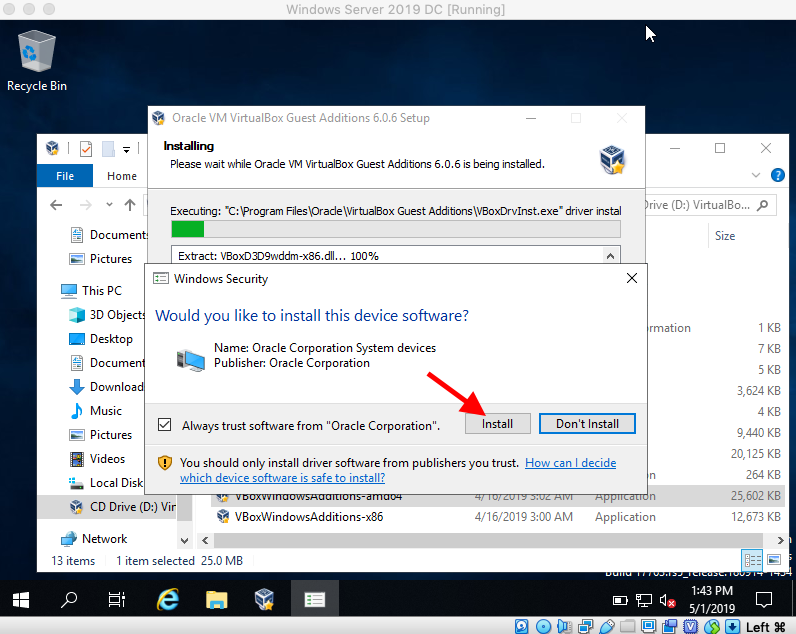
You will see a message from Windows asking you to confirm that you trust Oracle to install these drivers. Leave always trust Oracle Corporation checked and click Install
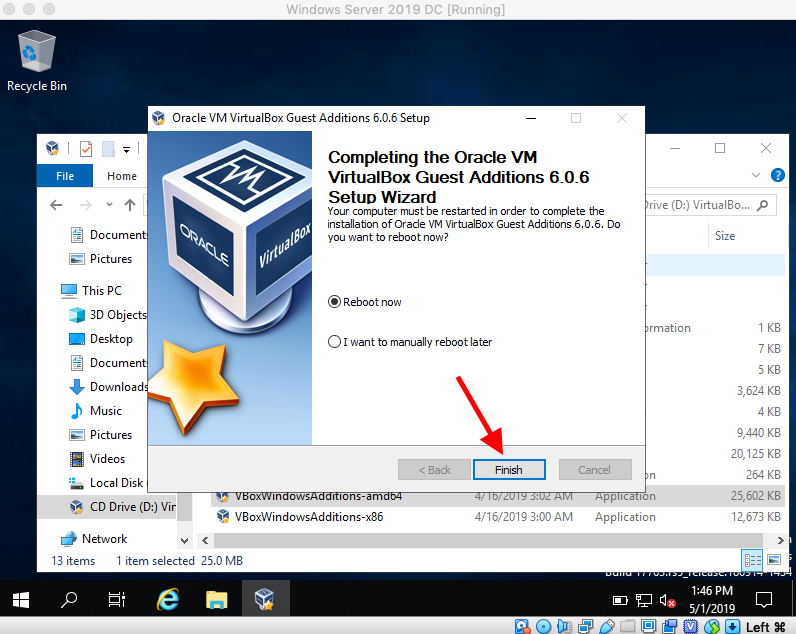
Wait a few moments to finish the installation then leave the Reboot now radio button selected and click finish to reboot and complete the installation.
That's all. Now enjoy all of the benefits and new features of using VirtualBox Guest Additions in your Windows Server 2019 VM.
Now that your VM is all set up and ready let's get some of the basics out of the way including how to change your computer's name and IP address at the next blog post below:
https://eyeteahero.blogspot.com/2019/05/checking-and-changing-your-windows-10.html
Additional resources:
https://www.virtualbox.org/manual/ch04.html
https://eyeteahero.blogspot.com/2019/04/installing-windows-server-2019.html
In this post we are going to install the VirtualBox Guest Additions in the Windows Server 2019 VM.
The VirtualBox Guest Additions provide improved support for mouse and keyboard integration, drivers, shared clipboard, video support, shared folders, time synchronization and a myriad of other improvements. They are installed after your guest OS is installed. In this post you will learn how to install them.
Installing VirtualBox Guest Additions
Power on your Windows Server 2019 Virtual Machine and click Devices> Insert Guest Additions CD Image...
Click the File Explorer shortcut in the taskbar and then double click the VirtualBox Guest Additions Icon that should now show as a drive letter in Windows.
Once inside the folder double click the VBoxWindowsAdditions-amd64 icon
Click Next
Confirm the selection and click Next
You can uncheck Add Start menu entires if you like and click Install
Wait for the installation to complete
You will see a message from Windows asking you to confirm that you trust Oracle to install these drivers. Leave always trust Oracle Corporation checked and click Install
Wait a few moments to finish the installation then leave the Reboot now radio button selected and click finish to reboot and complete the installation.
That's all. Now enjoy all of the benefits and new features of using VirtualBox Guest Additions in your Windows Server 2019 VM.
Now that your VM is all set up and ready let's get some of the basics out of the way including how to change your computer's name and IP address at the next blog post below:
https://eyeteahero.blogspot.com/2019/05/checking-and-changing-your-windows-10.html
Additional resources:
https://www.virtualbox.org/manual/ch04.html

