Installing ADDS (Active Directory Domain Services) Role To Windows Server 2019
In the previous blog post we set a static IP address for the server:
https://eyeteahero.blogspot.com/2019/05/checking-and-changing-your-ip-address.html
Before we can make this server a domain controller we need to install the ADDS role to it. Microsoft doesn't install all binaries when you first install Windows Server. You must select each role and feature that you want to install instead. This keeps the installation/footprint smaller while also decreasing the attack surface for attacks. It also makes updating less frequent and keeps server performance higher. This is an industry best practice.
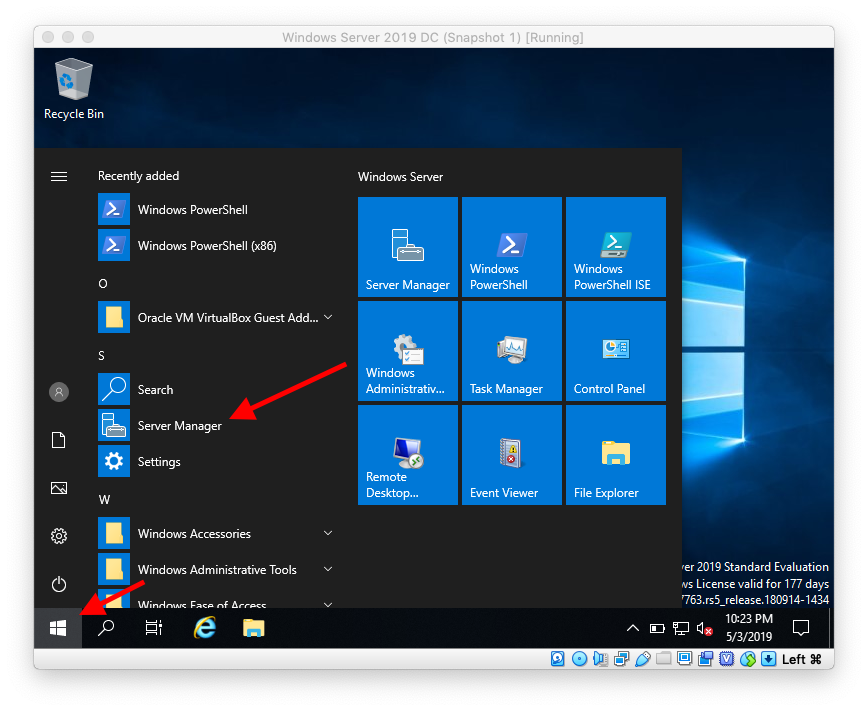
Click Start then click Server Manager
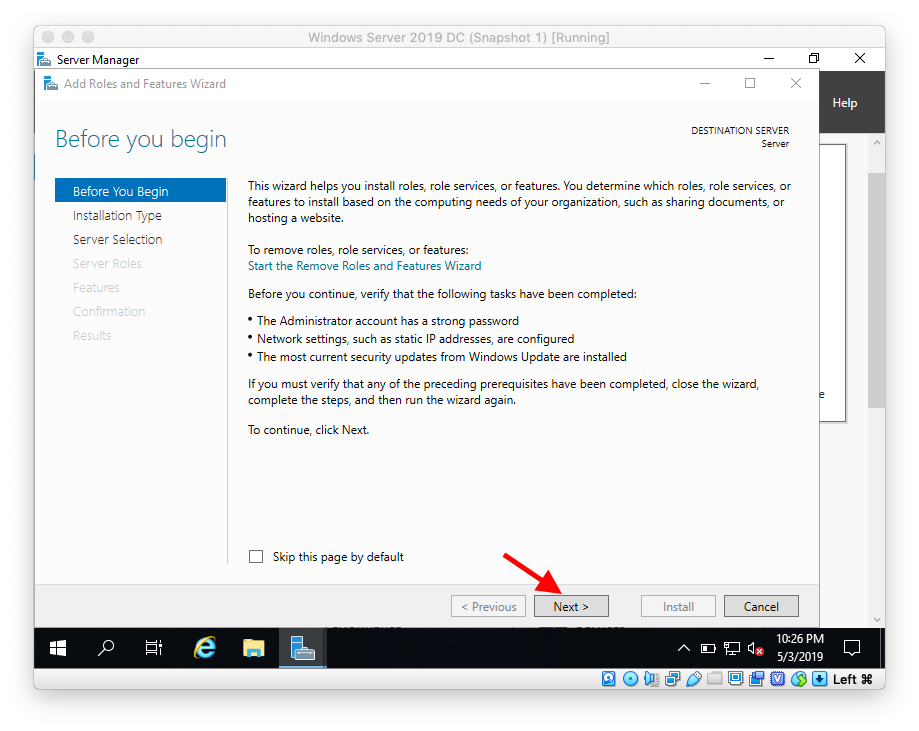
Click Next
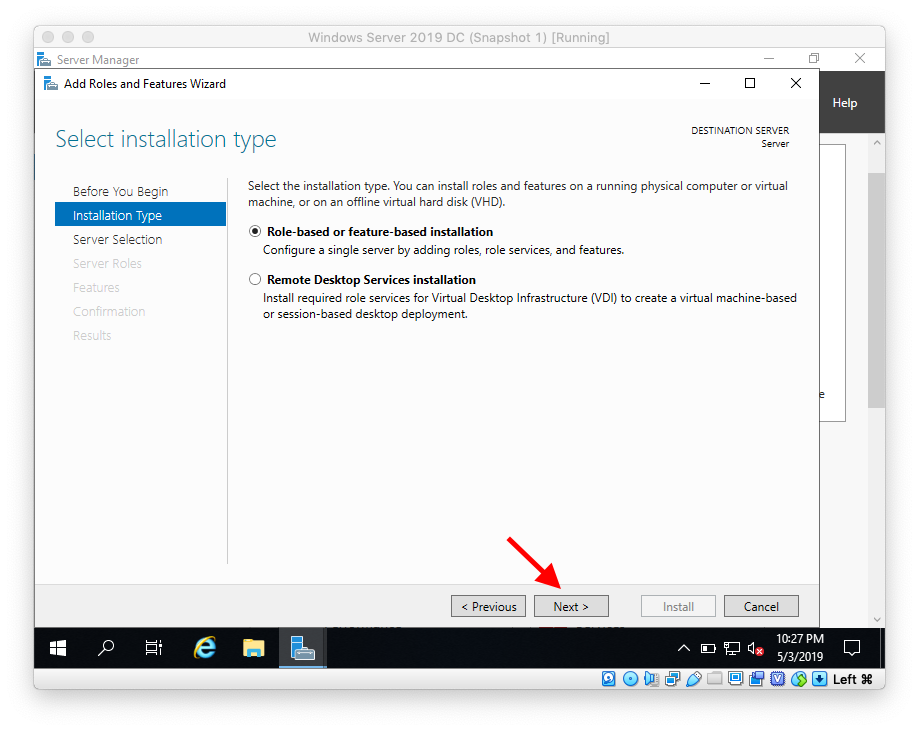
Leave Role Based or Feature Based Installation selected and click Next
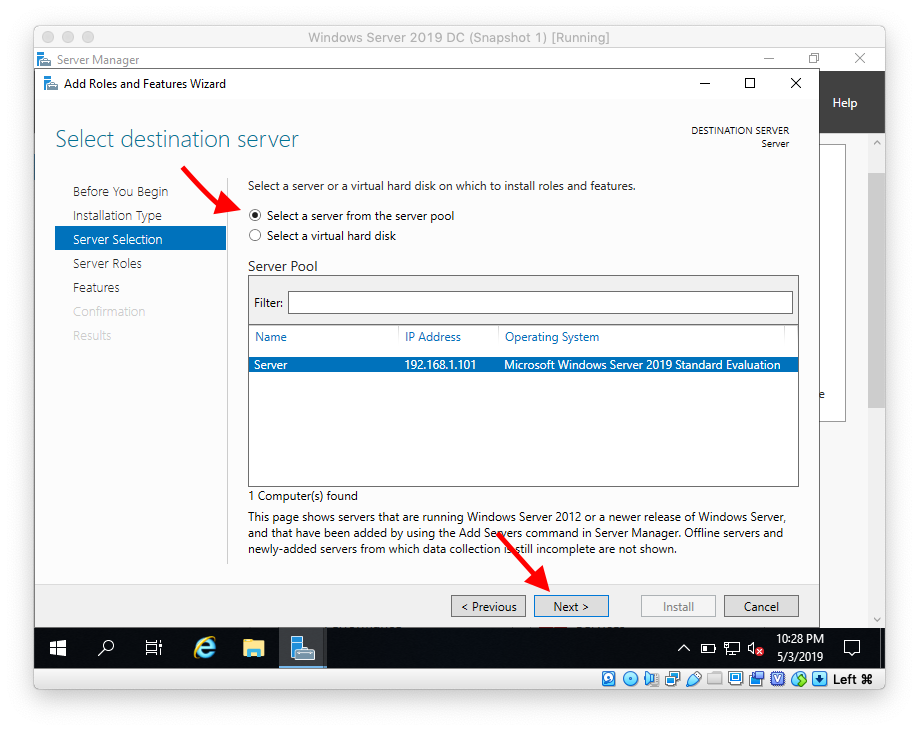
Leave Select a server from the server pool selected as your server then click Next
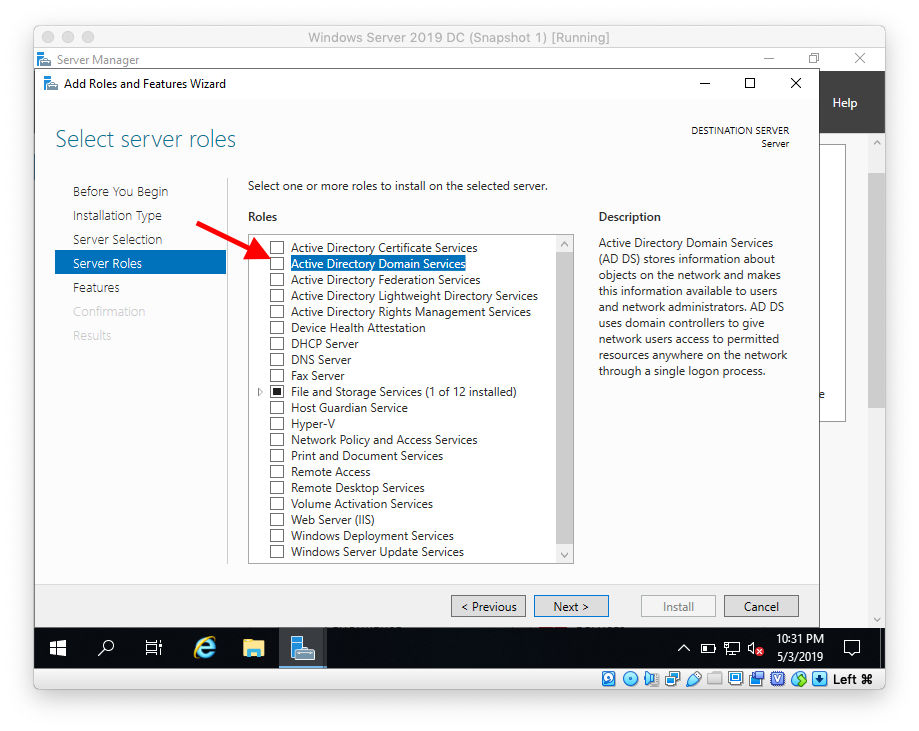
Check the box next to Active Directory Domain Services
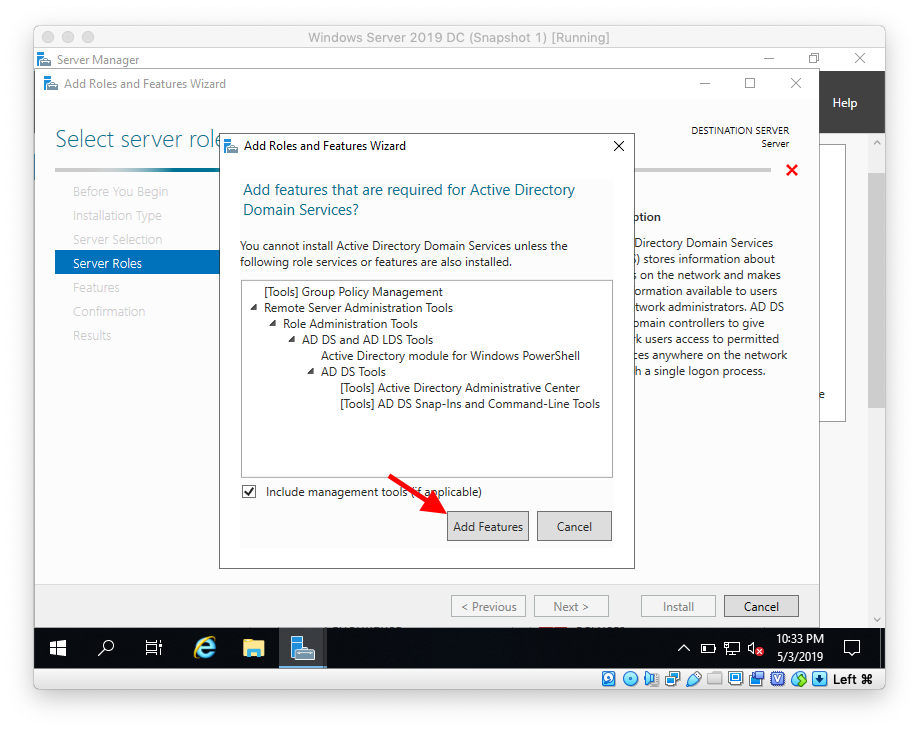
The ADDS role requires specific features. Click Add Features
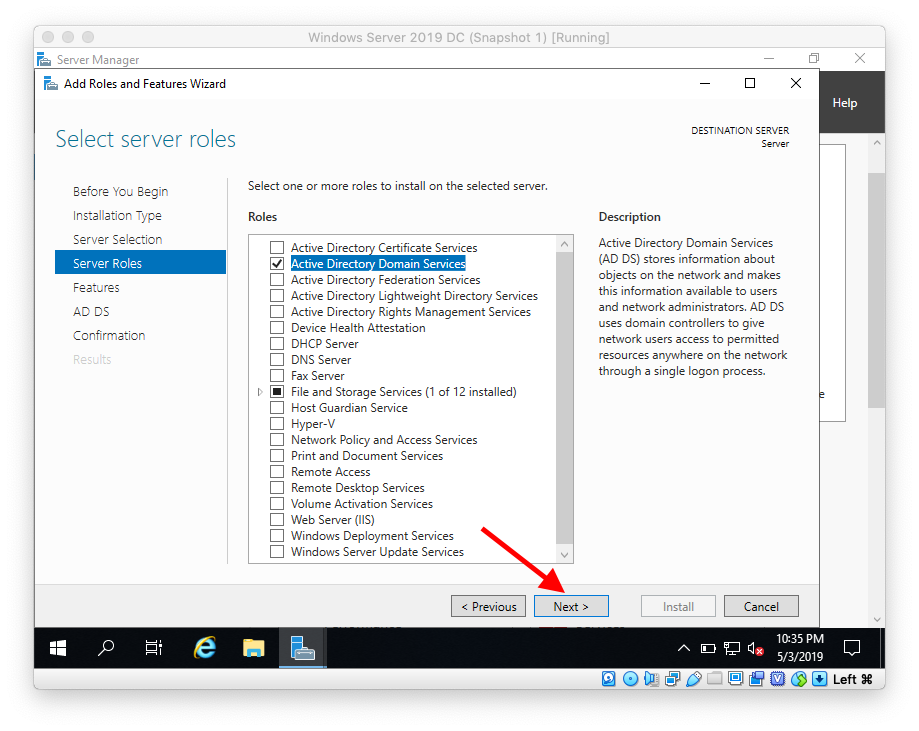
Click Next
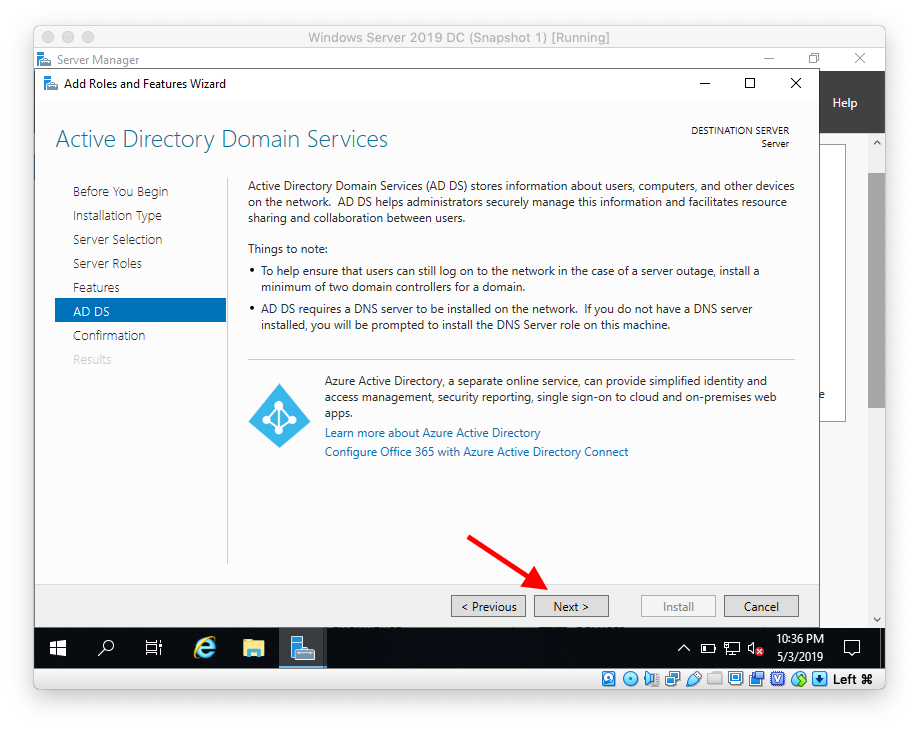
Leave the defaults and click Next

Click Next
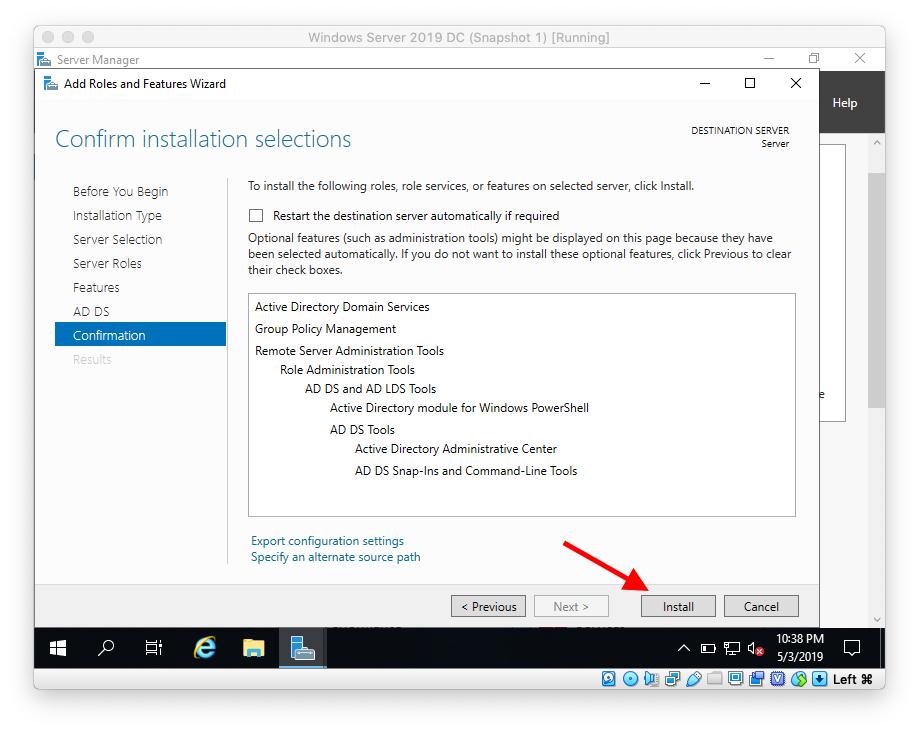
Click Install
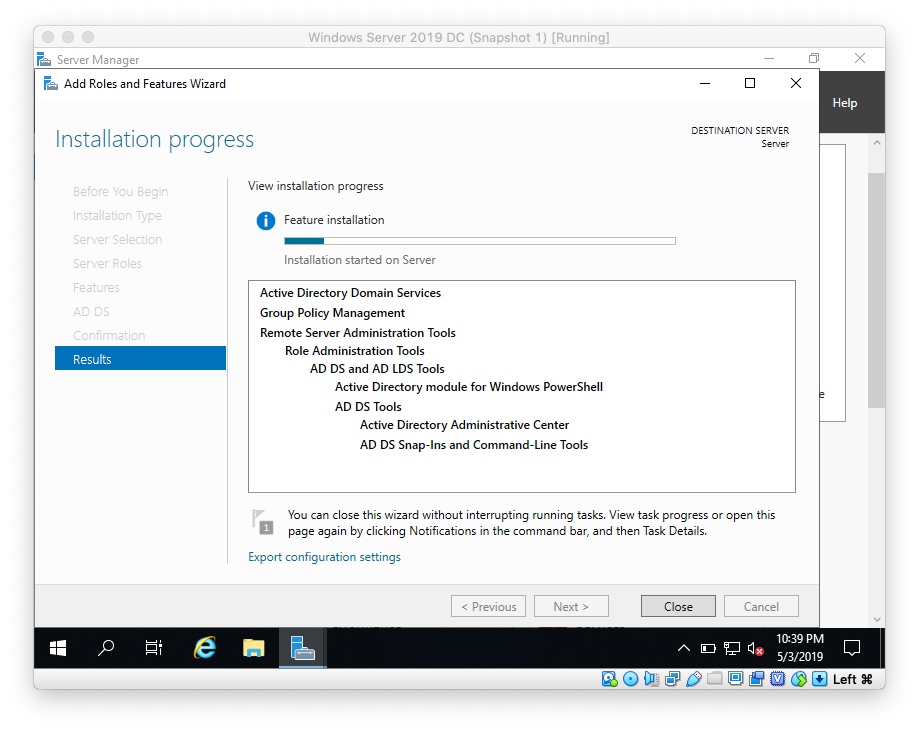
Wait for the installation to finish

Wait until installation completes
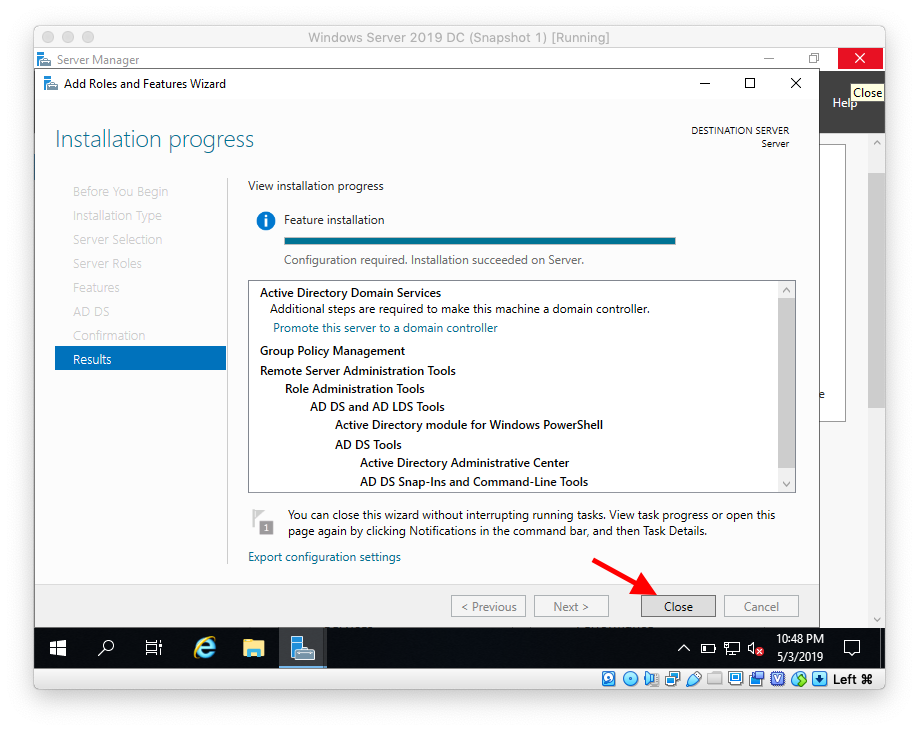
Confirm installation completed successfully then click Close
That's it. In the next blog we will be promoting this server to Domain Controller and creating our Active Directory Forest and Domain:
https://eyeteahero.blogspot.com/2019/05/promoting-windows-server-2019-server-to.html
https://eyeteahero.blogspot.com/2019/05/checking-and-changing-your-ip-address.html
Before we can make this server a domain controller we need to install the ADDS role to it. Microsoft doesn't install all binaries when you first install Windows Server. You must select each role and feature that you want to install instead. This keeps the installation/footprint smaller while also decreasing the attack surface for attacks. It also makes updating less frequent and keeps server performance higher. This is an industry best practice.
Adding ADDS (Active Directory Domain Services) Role To Windows Server 2019
Click Start then click Server Manager
Click Next
Leave Role Based or Feature Based Installation selected and click Next
Leave Select a server from the server pool selected as your server then click Next
Check the box next to Active Directory Domain Services
The ADDS role requires specific features. Click Add Features
Click Next
Leave the defaults and click Next
Click Next
Click Install
Wait for the installation to finish
Wait until installation completes
Confirm installation completed successfully then click Close
That's it. In the next blog we will be promoting this server to Domain Controller and creating our Active Directory Forest and Domain:
https://eyeteahero.blogspot.com/2019/05/promoting-windows-server-2019-server-to.html

